


Hello!
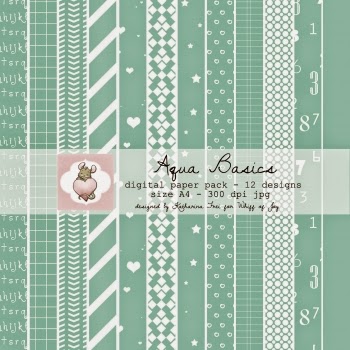
Natasha here today with a new tutorial using digital papers. I will show you by two options what you can do by using them for your projects.
***
Hallo!
Natascha wieder hier mit einem neuen Tutorial zum Thema Digipapier und was man so schönes Draus zaubern kann. Heute möchte ich euch zwei Möglichkeiten zeigen einfach und schnell Boxen bzw. Taschen zu basteln.
Here are two finished exampels. You can learn how to get this done with some Screenshots I made.
***
So schauen beide fertige Modelle aus. Und wie ihr zu solchen Ergebnisen kommt, zeige ich unten anhand von Screenshots.

Step by Step Tutorial for you:
1. Option:
All you need to get started are a PC and a printer. First you should open a writting programm and edit your options for a full size page print. I am not shure how to explain it in English. Maybe you get the idea with the Screenshot.
***
Und hier meine Schritt für Schritt Anleitung für euch:
1. Möglichket:
Für alle, die einen Computer und Drucker zur Hand haben ist diese Möglichkeit durchführbar. Als erstes öffnet ihr ein Schreibprogramm und stellt die Seiteneinstellungen auf 0 cm Rand um. Somit seid ihr in der Lage einen randlosen Druck auszuführen und das ganze Papier zu nutzen.
 Choose your design and open it with the program.
***
Wählt euer digitales Papier aus und zieht es direkt auf die voreingestellte Seite ohne Rand. So schaut die Vorschau auf eurem Desktop aus:

Print your design paper on some heavy cardstock. Here I used some in Din A4 size and 220 g weight.
***
Druckt das gewünschte Design auf stärkeres Papier aus. Ich habe hierfür Cardstock in der Din A4 Größe und 220 g Stärke verwendet.
Turn the printed page around and print on the "backside" the template you like to use. I have searced by Google and found this free PDF template. Print it out and all is left to get your scissors and cut it out. Fold the folding lines.
***
Als nächstes sucht ihr euch eine schöne Vorlage aus. Hier verwende ich eine kostenlose PDF Vorlage aus dem Internet, die ich dank Google schnell gefunden habe. Ich drehe das bereits mit digitalem Design bedruckte Blatt Karton im Drucker um und drucke auf die Rückseite die gewünschte Boxvorlage. Das drucke ich dann aus und schneide die Box mit der Schere von Hand aus und präge die Prägelinien nach.

2. Option (Designer Editon required):
If you are a lucky owner of a Silhouette Cameo cutting machine you can do this quick and easy. You need your printer and PC as well as your cutting machine. Choose your cutting template from your library and open it. Whit the prin and cut option you can print the wole design and cut it after that. To get a clean cut on ther template corners I use the offset option to get the space a little bigger for the design paper but I choose "not cutting" for the offset outline.
***
2. Möglichket(Designer Edition erforderlich):
Für alle glücklichen Silhouette Cameo Besitzer gibt es eine schnellerer und Druckerpatronen freundlichere Variante. Voraussetzung ist natürlich auch ein Drucker, ein Computer und so ein Plotter. Ihr sucht euch die gewünschte Schnittvorlage aus eurer Bibliothek aus und mit der Print and Cut Funktion könnt ihr das gewünschte Design erst ausdrucken und später ausschneiden lassen. Ich bevorzuge es auf Nummer sicher zu gehen und ziehe noch ein Offset (eine Art Außenrandschneidelinie, die größer ist als die ursprünliche Datei). Das Offset stelle ich um auf die Option "nicht schneiden" ein!
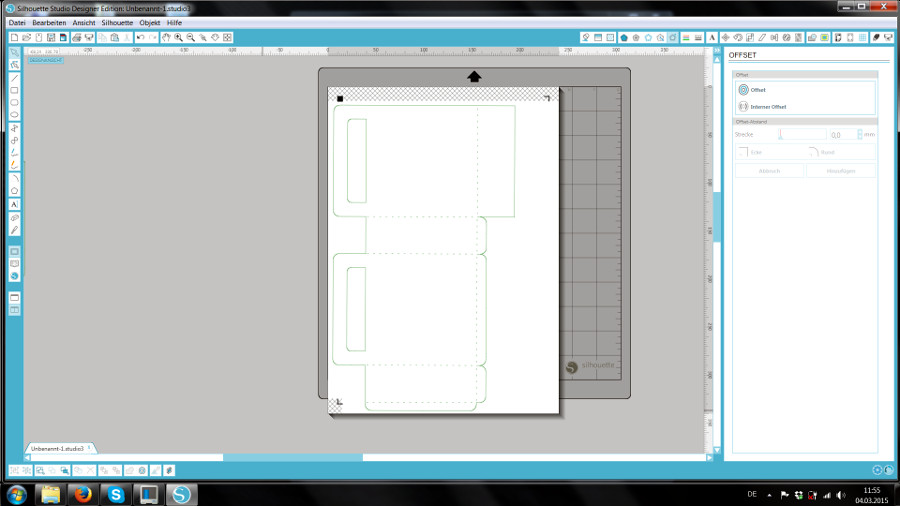

All left is to drag you choosen digital paper design direct on the cutting design. Print it out with the registration marks. Get it on your mat and let your cutting machine cut out.
***
Jetzt muss man nur noch das gewünsche digitale Papier auf die Schneidedatei ziehen, ausdrucken und mit der Silhouette Cameo schneiden.

Here are some more photos to show you the different steps. Before cutting out we have left the 1. option to cut using scissors and on the right the 2. option using print and cut funktion of the Silhouette Cameo.
***
Hier habe ich noch einige Fotos für die Zwischenschritte. Vor dem Ausschneiden: links die 1. Möglichkeit zum von Hand ausschneiden und rechts die 2. Möglichkeit für die Print and Cut Funktion der Silhourtte Cameo.

Here you see the result after cutting both options out. On the left you have some more leftovers of the printed design.
***
So schaut das ganze dann nach dem Ausschneiden aus. Wie man sieht bleibt bei der 1. Möglichkeit links noch einiges an Designpapier über zum Verbasteln.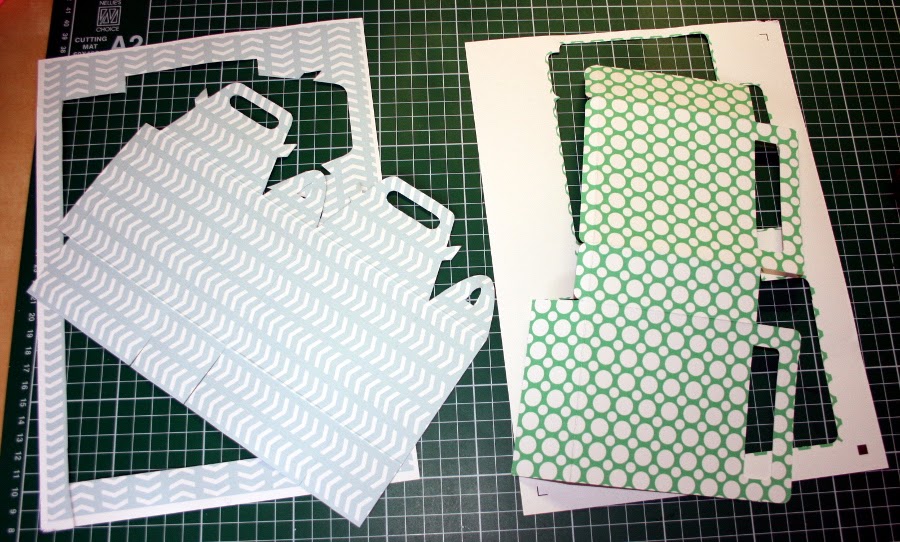
After folding the box and bag you can get creative and decorate them the way you like to :). I hope you got inspired and have some fun to try it out.
***
Nach dem Falten der Box und der Tasche könnt ihr euch beim Dekorieren austoben :). Ich wünsche euch ganz viel Spaß beim Nachbasteln. Hoffentlich gefällt euch meine kleine Anleitung.
Here again the finished projects with some more photos:
***
Hier nochmal die fertigen Projekte:


Thank you for stopping by and reading my post!
Hugs,
Natascha
***
Vielen lieben Dank fürs Vorbeischauen und Lesen!
Eure Natascha
Verwendete Materialien:


Total klasse die Boxen, schauen super aus
ReplyDeleteLG
Michaela